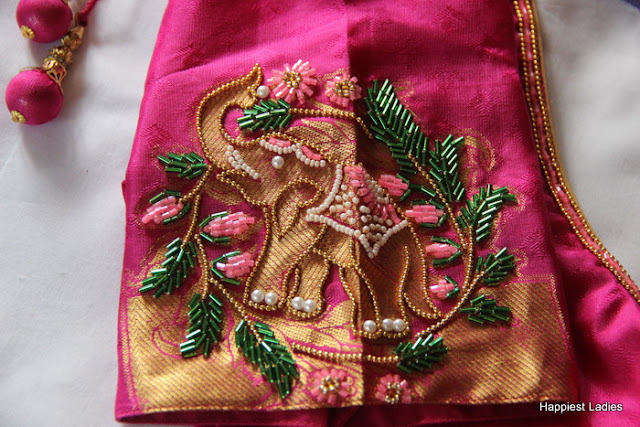
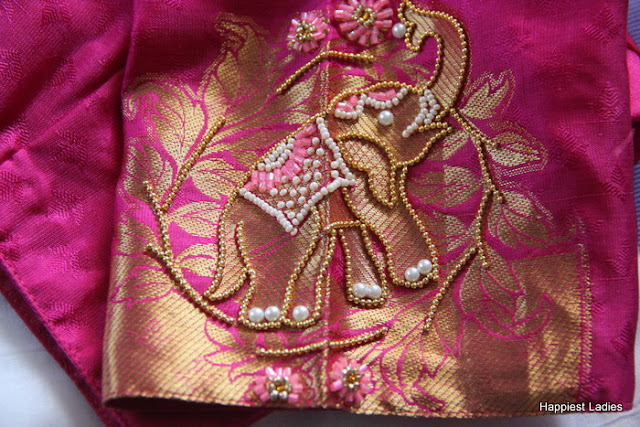
DIY - How to highlight an existing print/design using metal ball chains – A beginners idea of embroidery
With nowhere to go, with no one to visit, with no trip to
plan, with no long drives to schedule, we at home are mostly relying on DIY
projects to keep ourselves positive and not think much about the corona scare prevailing
outside.
And the agenda is going strong during this corona virus
lockdown– MAKE AT HOME, TRY & DO IT YOURSELF, NO DEPENDENCY ON OTHERS, STAY
SAFE & SAVE OTHERS.
For beginners with embroidery, here is an excellent idea to create beautiful designs like an expert.
You will need your blouse/shirt/top/any fabric that you wish
to try your hand at embroidery with ball chain.
Firstly, note few points and importantly follow few tips –
- Materials needed for the DIY project – a fabric material to work the design on, a metal chain made of tiny balls/beads, a bottle of fabric glue, tooth prick, embellishment materials of your choice (optional) and other supporting tools like scissors, needle, hand tissue and such.
- Choose a fabric that already has a simple design; either printed design or brocades or paisleys. It will be easier to begin with and you will feel more confident to start off.
- On a waste cloth, try to squeeze and trace a line of glue. We suggest Fevicryl fabric glue - a tiny bottle with nozzle. It is easily available at most bookstores or art&craft shop.
- Try to draw a standing line, sleeping line, slanting line, mountain line, a curved line, tiny circle – all using glue. This way you will learn how much to apply pressure on the bottle and control how much glue to squeeze out. After use, store the glue bottle upside down, that is the nozzle should face down.
- Cut the metal ball chain in the required length. We have chosen gold colored chain. Other colors are also available. It is easy to work with small pieces rather than full length ball chain.
With basic things in place and settled, lets begin and you
will be excited about how easy and beautiful it looks.
- Begin to trace your design outline carefully. Apply glue to tiny portion of the design.
- On this glue line, apply the appropriate size of metal ball chain carefully.
- Make fine adjustments and tweaking using a needle or tooth prick.
- Allow few minutes to dry completely.
- Once, the entire design is highlighted, for long life, it is better to secure the place of the chain with tiny stitches at interval.
Here, watch a quick video on how to highlight a design with gold metal ball chain. This will give you a brief idea about how to begin and what to do.


Post a Comment